These instructions apply to all RA UXP Panels in Adobe® Photoshop® 2022 (v23.3) and later, on both Windows and Mac OS.
Step 1: Open the Plugins Manager
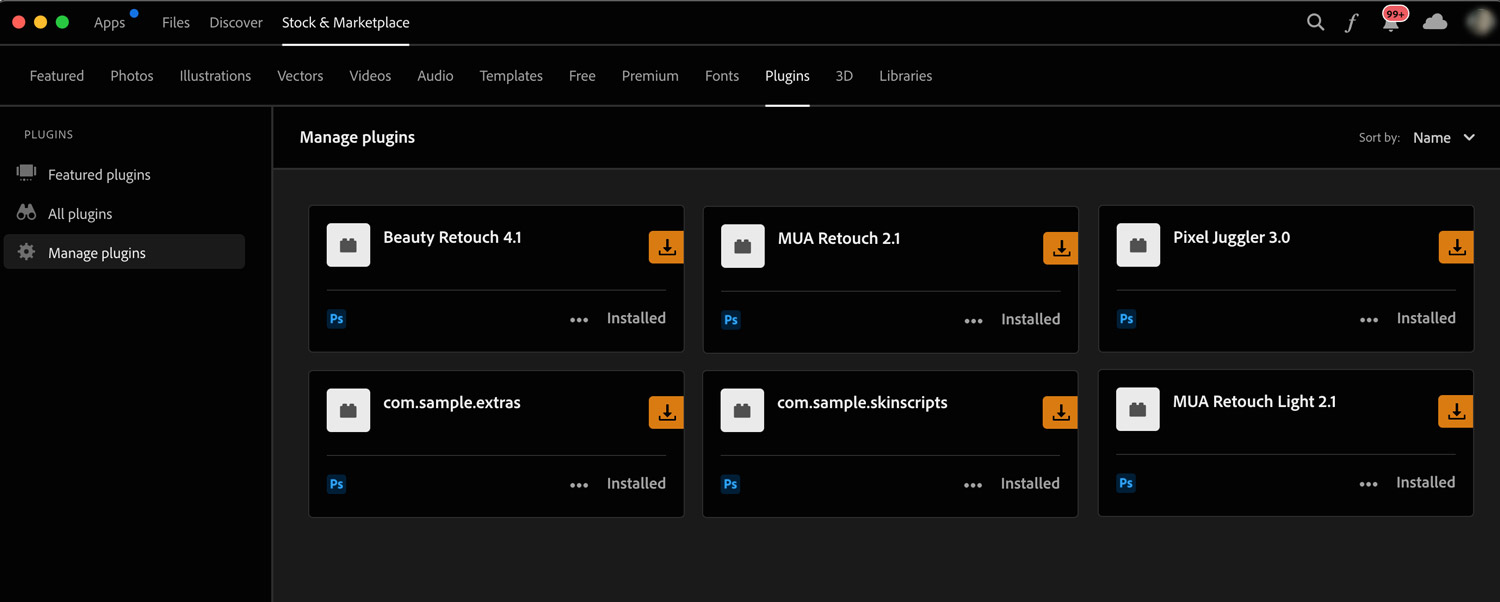
To view all the plugins installed in Photoshop, select Plugins → Manage Plugins.
Alternatively, open the Creative Cloud app and go to Stock & Marketplace → Plugins → Manage Plugins.
Step 2: Save Your Custom Actions
Important: Before updating or upgrading your Beauty Retouch Panel, or updating Photoshop, save the Custom Actions linked to the A–F buttons on the panel so you do not have to recreate them.
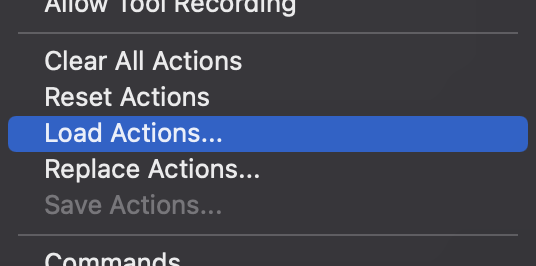
Select the RA Custom Actions set in the Actions palette, click the Options icon in the upper-right corner of the palette, and choose Save Actions.
Once you have reinstalled the panel or updated Photoshop, restore your Custom Actions using the Load Actions option in the same Actions palette menu.
Step 3: Uninstall the Plugin
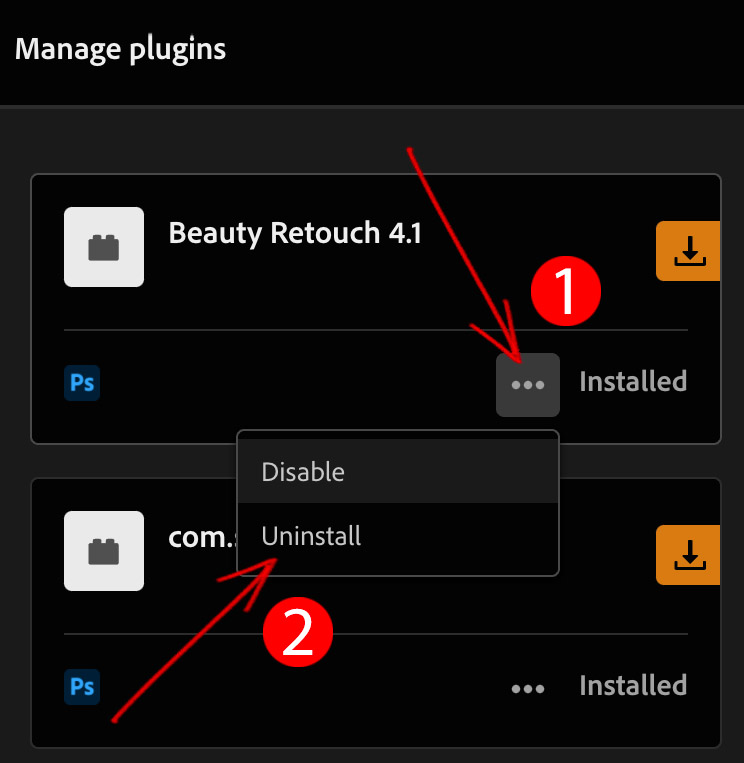
Click the ... icon on the tab of the plugin you want to remove, then select Uninstall.
In current Photoshop versions, you do not need to uninstall our UXP Panels before updating. The new version you install automatically replaces the previous one in Creative Cloud.
Dedicated Support Team
If the FAQ does not resolve your issue, please contact our friendly Support Team: Submit a Support Ticket.